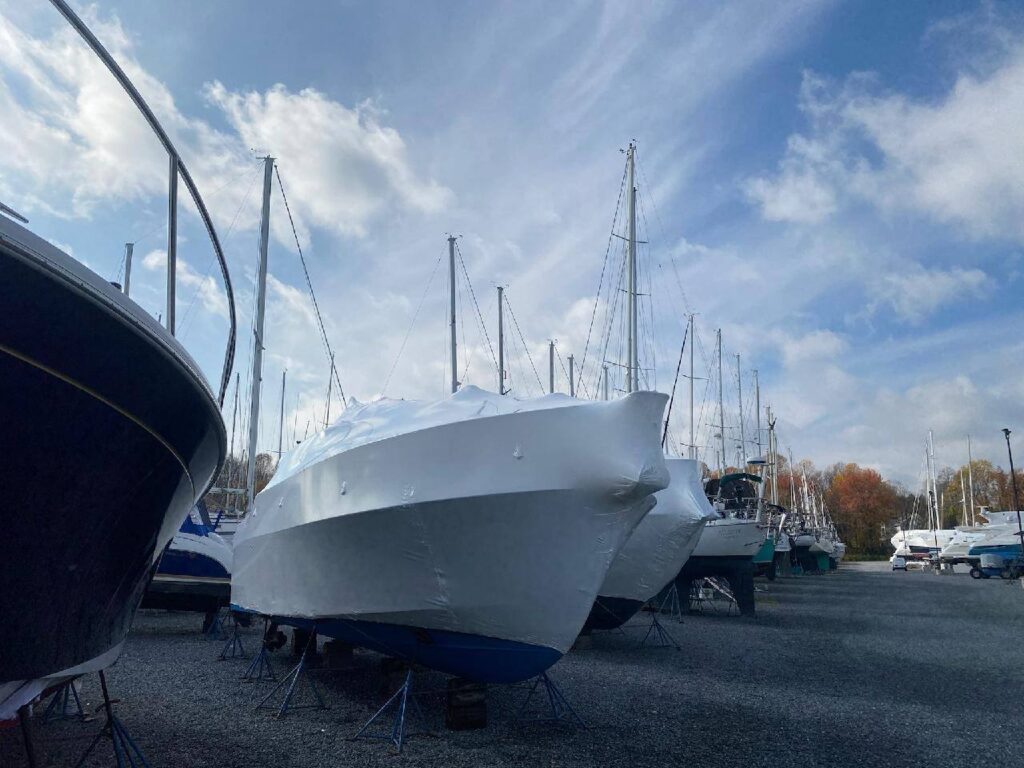
If your on this page, you seem to be interested in Shrinkwrapping and how it works.
Check out our other blog Do you Shrinkwrap your Boat? if you have any more questions on why its worth shrink wrapping your boat.
In this article, we will explain a process on how to get a good structure for your Shrinkwrap project!
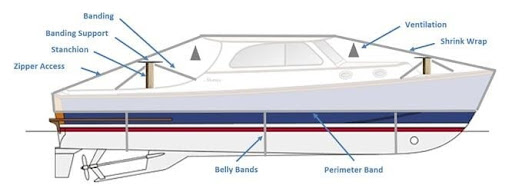
This picture above will be referred to through this article. It lays out a good image to help you understand.
First thing for your Shrinkwrap project is to make sure you have a good ‘tented’ centerline.
The shrink wrap needs to have a high point so when it snows, the wrap automatically ‘sheds’ the snow. The high point should be on the centerline of the boat going bow to aft. We will call this the center band.
Secondly for the Shrinkwrap project, make sure you support the Centerline strap with 2×4’s.
In the picture above, you can see there are 2 2×4’s used. One on the bow in between the roof and bow pulpit, the other one is on the aft deck. We always plan on placing 2×4’s every 7-10′ when setting up the structure. The purpose of the 2×4 is to give the center band strength so when snow falls on it, the center band has strength to shed the heavy snow off.
Third thing for the skrinkwrap job is to set up a perimeter band around the hull and add belly bands under the boat.
The purpose of perimeter band is when we put the shrink wrap over this structure, the perimeter band will hold the shrink wrap down. The belly bands will act as an anchor so when we shrink the actual wrap, it won’t allow the perimeter band to move. We normally do out perimeter bands around the waterline of the boat and the belly bands are scattered throughout the bottom.
Lastly, your ready to put the wrap over.
In conclusion, make sure you make a good center band on the boat, give it support through 2×4’s, and then set up your bands around the hull. After doing all of this, your ready to proceed with putting the shrink wrap on.
Check out our page for Shrinkwrapping if you would like a quote today!